When you’re starting with kettlebell exercises, it’s important to master the basics.
These movements form the foundation of your training, teaching you essential techniques like the hip hinge and proper lifting form.
The kettlebell deadlift, for instance, isn’t just about learning to pick something up; it trains your entire back and leg muscles while ensuring you keep a straight spine. Think of it as the start of your kettlebell journey.
And then there’s the kettlebell chest swing, which really gets those hamstrings and glutes working. By holding the kettlebell close to your body and hinging at the hips, you’ll quickly feel the burn in a whole new range of muscles.
It’s all about building strength and mobility while maintaining a structured form. You’ll find these exercises not only improve your muscle strength but also your overall fitness.
Key Takeaways
- Learn the fundamental kettlebell deadlift to master hip hinge mechanics.
- Strengthen your glutes and hamstrings with the kettlebell chest swing.
- Improve total body fitness and muscle control with basic kettlebell exercises.
Kettlebell Deadlift
Fundamental Hip Hinge Mechanics
Learning the hip hinge is crucial for safe and effective kettlebell deadlifts. You will need to push your hips back, keep your spine long, and allow your knees to bend slightly. This movement focuses on your glutes and hamstrings.
Imagine sitting your butt back while maintaining a straight spine from your head to your tailbone. Keeping your core engaged helps prevent injury and ensures proper form.
Step One: Setup and Grip
Stand with your feet about shoulder-width apart.
Keep your spine straight as you push your hips back and bend your knees until you reach the kettlebell handle.
Grab the handle with both hands.
Think about pushing your shoulders down and back, like you’re tucking your shoulder blades into your back pockets.
Keep your chest up and proud, showing the logo on your t-shirt.
Step Two: Lift and Extend Hips
Press your heels firmly into the floor and stand tall by extending your hips.
As you rise, make sure to exhale. This movement should feel powerful and controlled.
Your hips should lock out at the top, and your chest should remain high. This is where you’ll especially feel your glutes and hamstrings working.
Kettlebell Chest Swing
High Hip Hinge for Glute and Hamstring Activation
You’ll start with a high hip hinge to really focus on your glutes and hamstrings.
Think about pushing your hips back as if you’re trying to touch a wall behind you. This motion will lengthen your hamstrings and load your glutes.
Step One: Stance and Kettlebell Positioning
Stand with your feet between hip and shoulder width apart and root your feet into the ground.
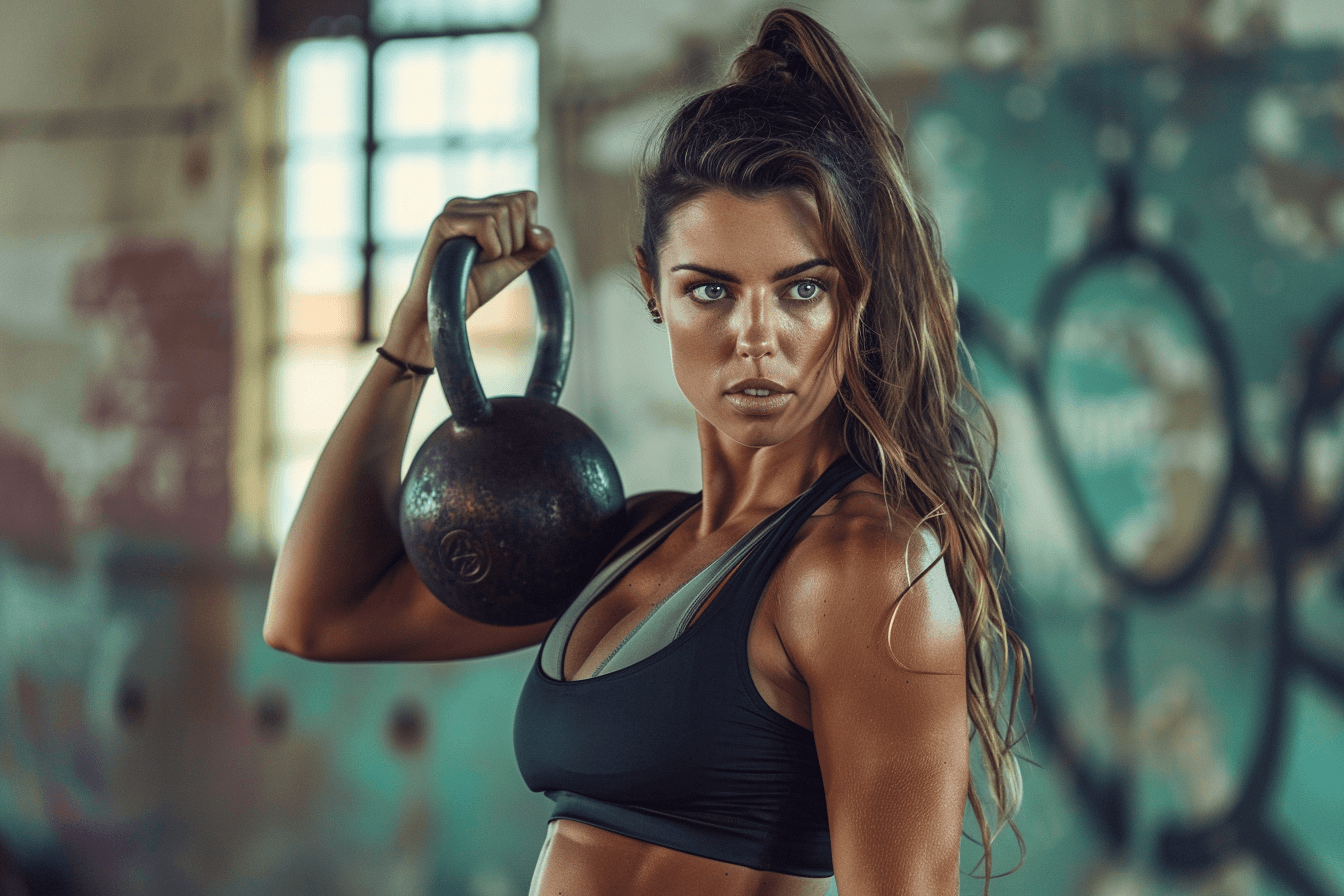
Hold the kettlebell by the horns, keeping it close to your body just below your sternum.
Your shoulder blades should be together and down, and you should be looking at a spot approximately 15 feet in front of you.
Take a deep breath and brace your core.
Step Two: Pelvis Tilt and Spine Alignment
Tilt your pelvis slightly so that your tailbone points up.
This small movement tips your pelvis forward. Keep your spine long and straight.
As you hinge at the hips, pull your hips back and let your knees bend as needed.
It should feel like you’re trying to sit your butt down on an invisible chair behind you.
Step Three: Hip Extension and Swing
When you feel a stretch in your hamstrings, exhale, and press your feet into the floor.
Extend your hips and squeeze your glutes to bring your hips forward.
This motion will tuck your tailbone under as you bring your hips and knees to a lockout position.
Kettlebell Goblet Squat
Keep Your Torso Upright While Sitting Down
In the kettlebell goblet squat, it’s important to keep your body straight and upright. This helps you learn good squatting techniques. As you go down, you’ll feel the front of your thighs working hard.
It’s important to keep your chest open and your back long as you move. This helps you maintain balance and avoid any strain on your lower back.
Step One: Hold the Kettlebell Right and Get Into Position
Begin by gripping the kettlebell by its sides, known as the horns. Squeeze your shoulder blades together and move them downwards, making your chest stick out a bit.
Your elbows should stay close to your body, keeping your arms as straight as possible. Position your feet slightly wider than hip width, with your toes pointing out a little. Take a deep breath, and press your feet into the floor like you’re trying to twist them, without actually moving them.
Step Two: Lower Your Body Into the Squat
Start squatting by keeping your back straight and your body vertical. Lower yourself as much as you can without curving your lower back.
Keep your core firm and your chest proud. Aim to get low enough so that your thighs are parallel with the ground. This will help engage your quads and improve your lower body strength.
Step Three: Rise Back Up
As you begin to stand back up, breathe out and push your hips and knees to extend. Make sure to keep your torso upright and continue to squeeze your glutes at the top.
Reset if needed, and repeat for the desired number of repetitions. Continue to keep a proud chest and long spine to ensure proper form.
Kettlebell Split Stance Row
Stability and Pulling Musculature Focus
When performing the kettlebell split stance row, stability is key. By placing one foot forward and the other back, you create a strong base. This position engages your forearm flexors, biceps, and the muscles on your back.
These muscles work together to provide a balanced and powerful row. Imagine working those muscles you don’t see in the mirror often—think about your shoulder blades and the V-shape they create on your back.
Step One: Positioning and Support
- Place the Kettlebell: Start by placing the kettlebell on the ground by your right foot.
- Stagger Your Stance: Stand with your right foot forward, left foot back, both toes pointing forward.
- Angle Your Torso: Bend at your hips so your torso is about 45 degrees to the floor.
- Support with Your Right Elbow: Rest your right elbow on your right thigh for support.
- Grab the Kettlebell: With your left hand, reach for the kettlebell.
- Brace Your Core: Take a deep breath into your belly and engage your core.
Step Two: Rowing to the Hip
- Exhale and Row: As you exhale, pull the kettlebell towards your hip.
- Engage Your Shoulder Blade: Draw your shoulder blade back and down during the row.
- Keep Your Shoulders Square: Avoid twisting your torso; maintain a square position to the floor.
Step Three: Controlling the Weight
- Lower with Control: Gradually lower the kettlebell back to the starting position.
- Change Sides: After completing your reps, switch sides and repeat the same steps.
Kettlebell Clean & Press
Teaching the Kettlebell Clean & Press
When learning the clean & press, you start with the basics to ensure good form. This movement takes the kettlebell from the ground up to the shoulder, or the “rack” position, then up above the head. This full-body exercise preps you for more advanced upper body workouts.
Step One: The Deadlift Setup and Grip
Begin by setting up like you would for a deadlift. Stand with feet shoulder-width apart and keep your spine long, from your head to your tailbone. Bend your hips and knees as needed until you can grasp the kettlebell handle.
Use a right-hand over left-hand grip, with palms facing each other.
Step Two: Standing Tall and Racking
Press your heels into the floor and stand tall. Wrap the kettlebell around your left wrist, bringing it up to your left shoulder. Assist with your right hand if necessary.
Think about keeping your chest proud and your shoulders back as you stand.
Step Three: Reversing the Motion
From the rack position, squeeze the handle and push the kettlebell upwards to straighten your arm. Make sure the kettlebell is positioned above your shoulder and you control the lift.
Step Four: Reversing the Motion
To lower the kettlebell, reverse the steps smoothly. Return the kettlebell to the floor with control.
Complete all repetitions on one side before switching grips and repeating on the other side.
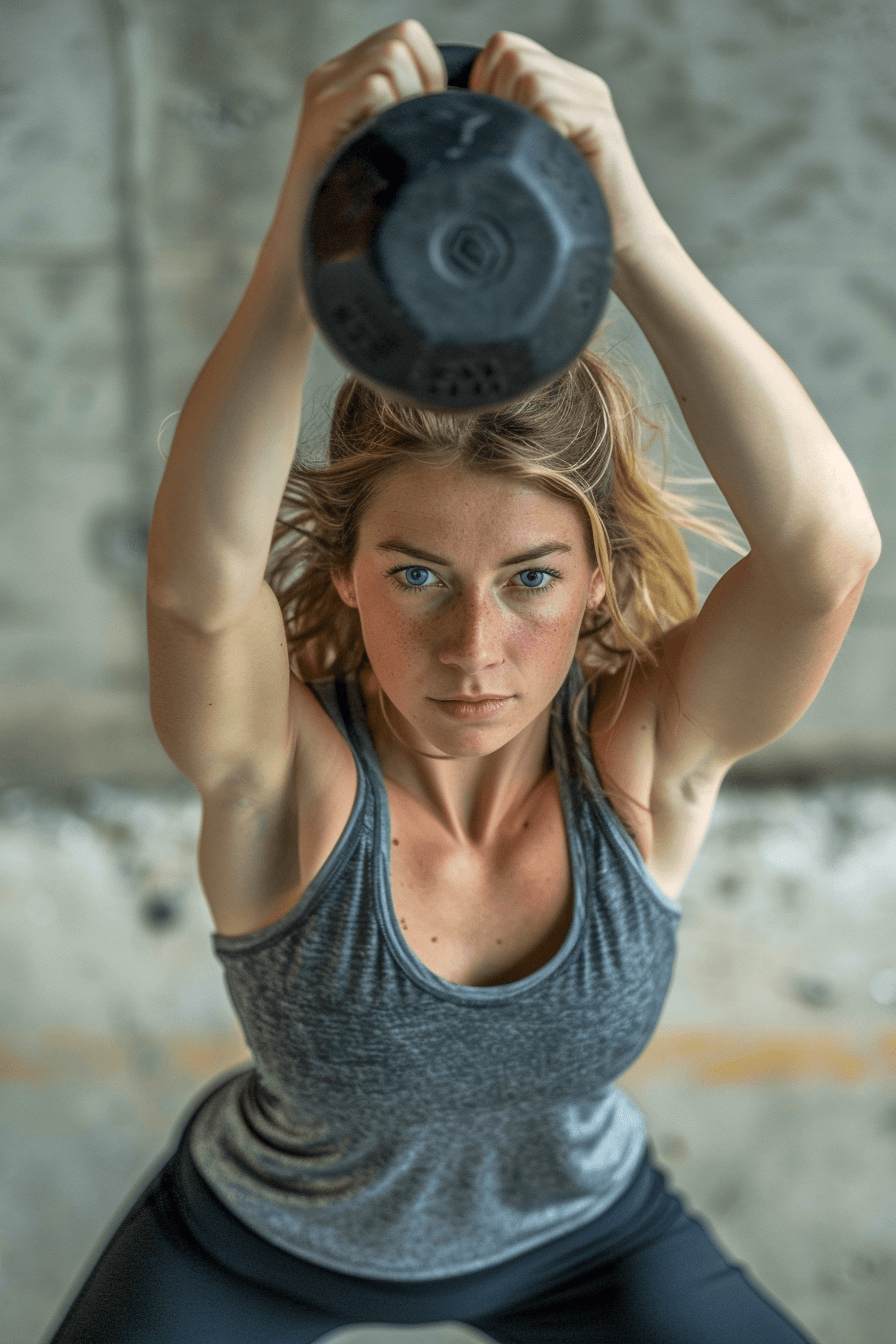
Kettlebell Strict Press
Shoulder Mobility and Strength
Pressing a kettlebell overhead is not just about strength; it’s also about shoulder mobility.
A kettlebell strict press helps you gain mobility as you build strength. To get the best results, make sure your shoulders are flexible enough to maintain a good form throughout the movement.
Step One: Starting Position and Body Foundation
To begin, stand tall and hold the kettlebell in one hand at shoulder level. Your feet should be firmly rooted into the floor to create a strong foundation.
Picture someone trying to push you; you should be steady and unmoving. Draw your shoulder blades back and down, and ensure your chest is proud. Brace your core by taking a deep breath into your belly.
Step Two: Overhead Press Technique
As you exhale, press the kettlebell overhead. Keep your forearm vertical, and let your elbow move slightly away from your side.
This motion may feel like it’s going around the world, and that’s perfectly fine. Make sure your chin is pulled back so the kettlebell clears your head without any issues.
Step Three: Returning the Kettlebell
To lower the kettlebell, imagine you’re doing a pull-up and pull the weight back down into its starting position. Stay controlled and steady.
Complete all your reps on one side before switching to the other arm.
Kettlebell Halo
Shoulder Mobility and Core Engagement
The kettlebell halo is a fantastic exercise to improve shoulder mobility while simultaneously engaging your core.
When done correctly, this movement helps maintain a stable core, preventing unnecessary strain. You should feel your shoulders loosening up as you move the kettlebell around your head.
This exercise is not just about shoulder movement; it’s crucial to keep your core tight throughout.
Step One: Position and Posture
Start by standing with your feet hip to shoulder-width apart. Hold the kettlebell by its horns, with the bottom facing up.
Make sure your feet are rooted firmly into the floor. Adopt a “proud chest” position: pull your shoulder blades back and down, tuck your ribs, and brace your core. Inhale deeply into your belly to prepare for the movement.
Step Two: Around the Head Movement
Begin by exhaling slowly as you start to move the kettlebell around your head.
Make sure to keep your posture straight and avoid twisting or bending your torso.
Proceed gently to avoid hitting your head, making a full circle with the kettlebell.
After completing the required repetitions in one direction, switch and repeat the process in the opposite direction.
Around the Hip Pass
Dynamic Stability Control
In the Around the Hip Pass exercise, you’ll move the kettlebell in a circular pattern around your body, specifically around your hips.
This movement helps improve dynamic stability by forcing you to maintain control while the weight shifts around you.
Keep your shoulders pulled down away from your ears to engage your traps effectively.
Remember, your feet should stay strong and stable, providing a solid base for the exercise.
Step One: Starting Position and Movement
- Set-Up: Stand with your feet between hip and shoulder width. Hold the kettlebell by the handle at arm’s length in one hand.
- Movement: Begin making circles around your hips, passing the kettlebell from one hand to the other. Perform the reps in one direction, then switch directions.
This exercise will challenge your core stability while working on your upper body control. It’s a great way to feel the movement of the kettlebell and improve coordination.
Kettlebell Figure Eight
Lower Body Strength and Stability
The kettlebell figure eight is fantastic for boosting your lower body strength and stability.
While performing this exercise, you maintain an isometric squat, meaning you hold a squat position without moving up or down.
This position ensures your thighs are constantly engaged, making them stronger over time.
As you move the kettlebell in a figure-eight pattern around your legs, you not only reinforce your thigh muscles but also work on your balance and coordination.
You will feel a burn in your legs, which is a sign that your muscles are working hard.
Step One: Isometric Squat and Pass Technique
- Assume the Squat Position: Begin by standing with your feet slightly wider than shoulder-width apart. Then, bend your knees and lower your hips into a squat. Make sure your spine stays straight and your chest is up.
- Grasp the Kettlebell: With both hands, pick up the kettlebell. Hold it in front of you, close to your body. Ensure your shoulders are back and down, maintaining a firm and proud chest.
- The Figure Eight Motion: Pass the kettlebell from one hand to the other, weaving it between your legs in a figure-eight pattern. Keep your movements controlled and your core engaged to maintain balance and stability.
- Stay Engaged: Throughout the exercise, focus on keeping your thighs and core muscles engaged. This ensures you get the most benefit from the isometric squat while also improving your coordination and control.